How to Arrange Cables Inside a Drag Chain (Step-by-Step Guide)
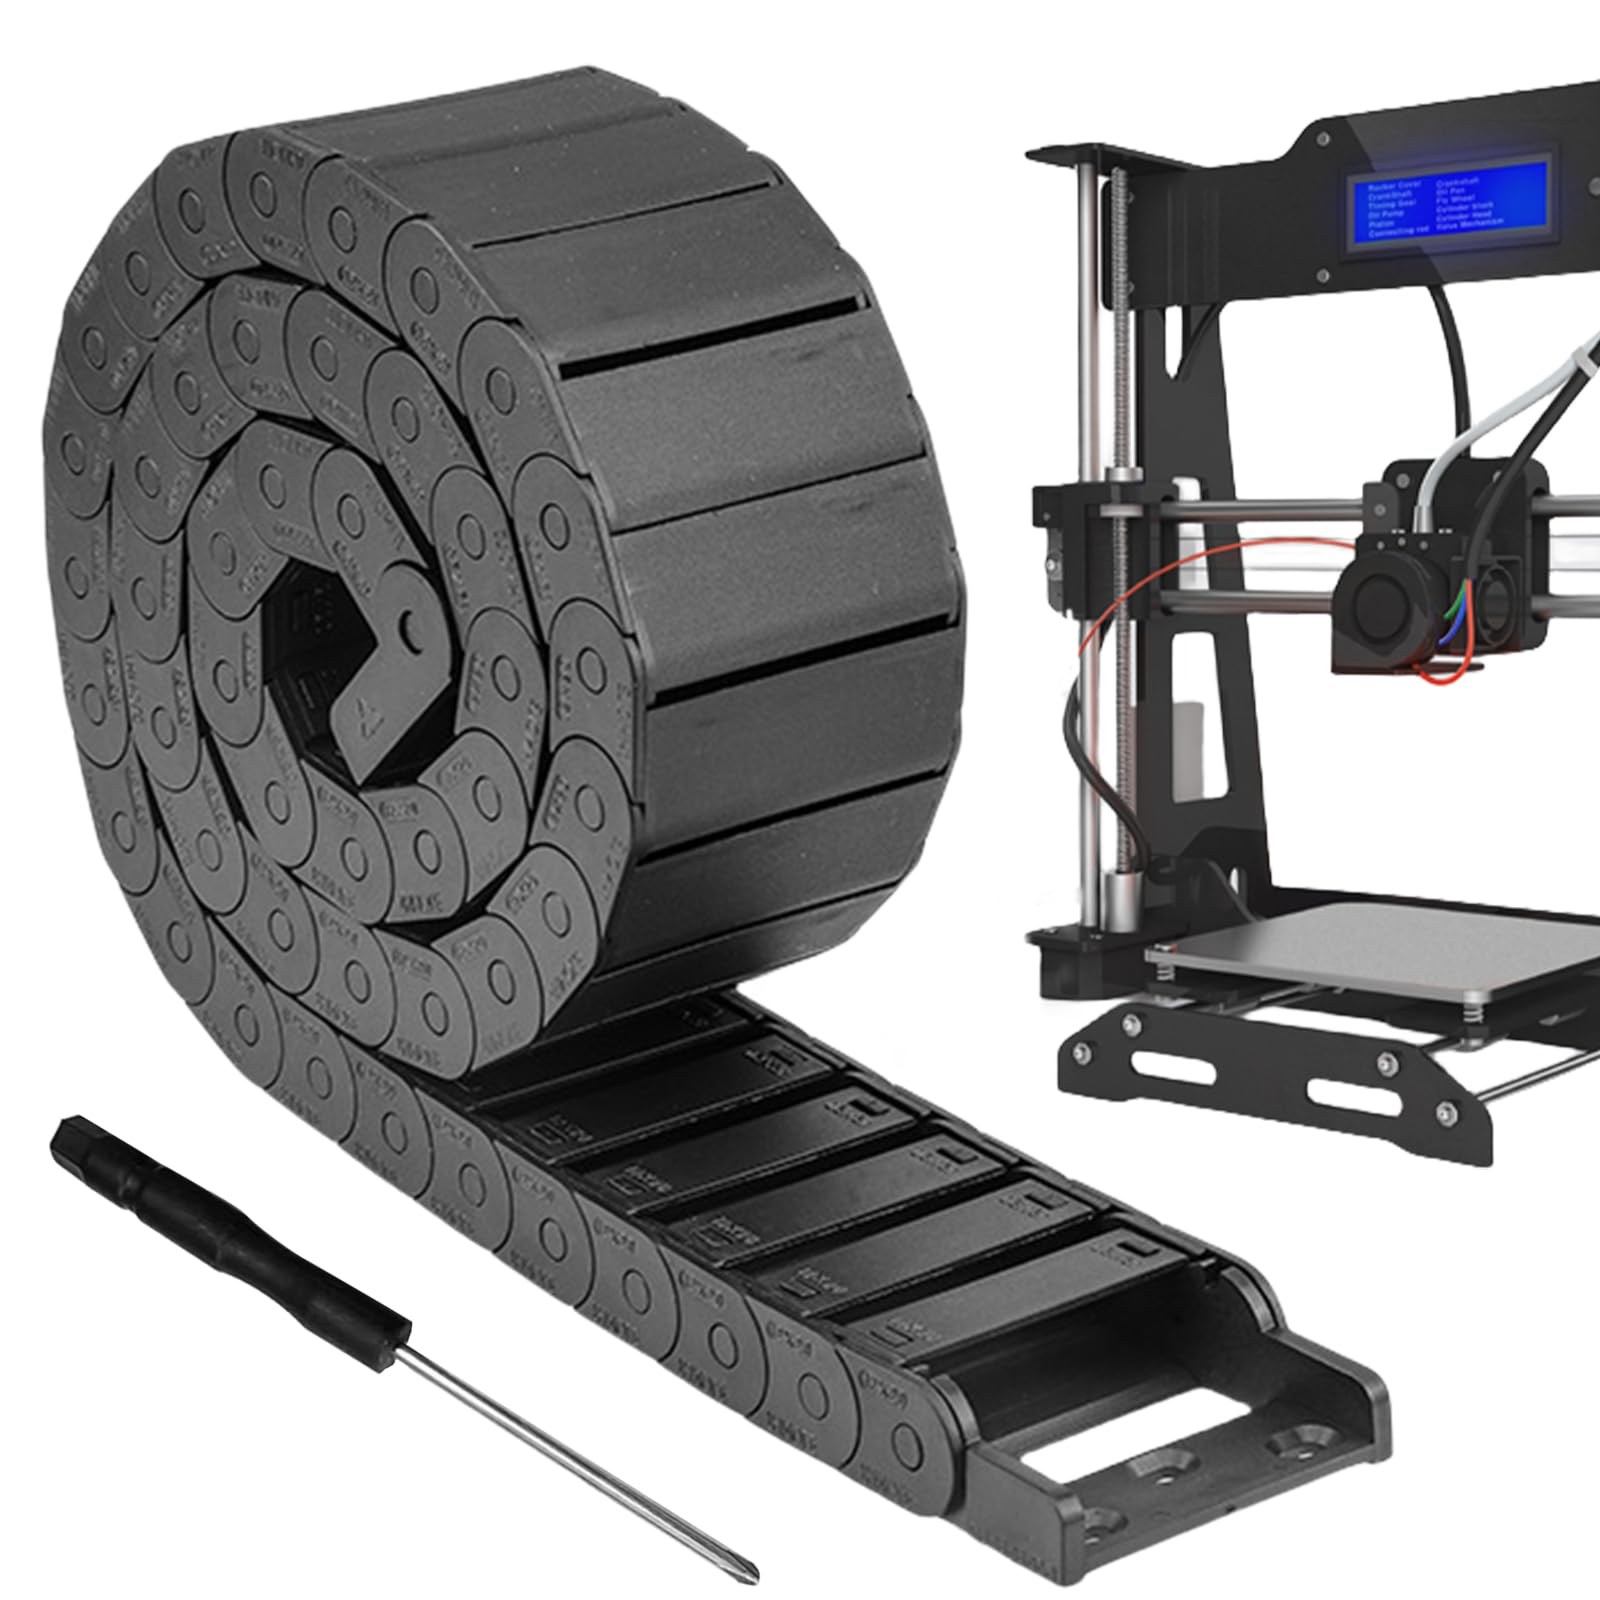
Proper cable arrangement inside a drag chain is essential for ensuring long service life, smooth operation, and minimal maintenance. Incorrect cable layout can lead to premature wear, cable breakage, noise, and even system failure.
In this guide, we will walk you through how to properly arrange cables inside a drag chain step by step, helping you avoid common mistakes and improve overall performance.
Why Proper Cable Arrangement Matters
A well-organized drag chain system provides:
- Reduced cable wear and friction
- Longer service life of cables and chains
- Smooth and quiet operation
- Lower maintenance costs
On the other hand, poor arrangement can quickly lead to costly downtime and repairs.
Step 1: Choose the Right Cables
Not all cables are suitable for drag chain applications.
Key requirements:
- High flexibility (designed for continuous motion)
- مقاومة bending fatigue
- Smooth outer jacket for reduced friction
⚠️ Tip: Always use cables specifically designed for drag chain or continuous flex applications.
Step 2: Calculate Proper Space Inside the Drag Chain
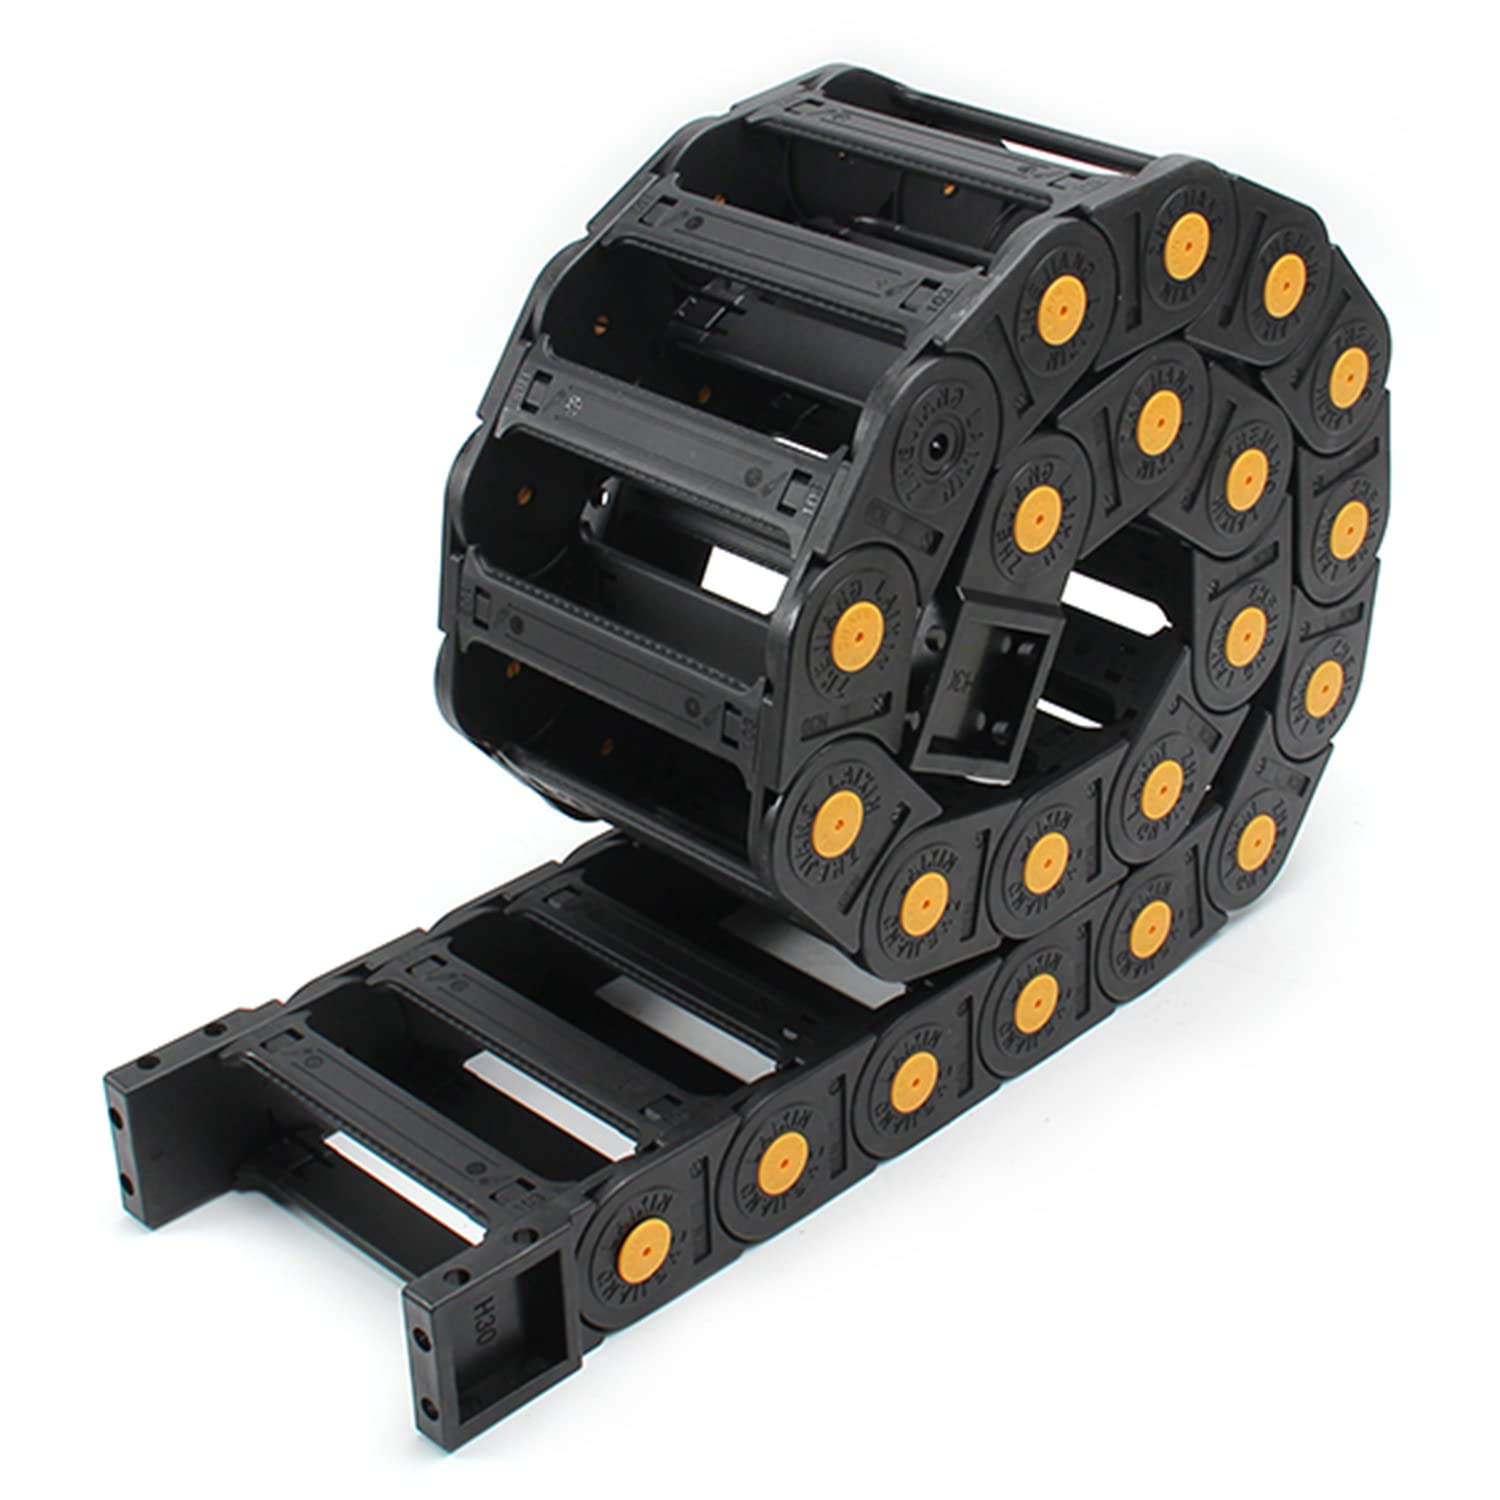
Never overfill the drag chain.
Recommended rule:
- Leave 10%–20% free space inside the chain
This allows cables to move freely and prevents excessive friction and heat buildup.
Step 3: Arrange Cables by Diameter and Function
Proper positioning is critical.
Best practices:
- Place larger/heavier cables on the outer sides
- Place smaller/lighter cables in the center
- Separate power cables from signal cables
This helps maintain balance and reduces interference.
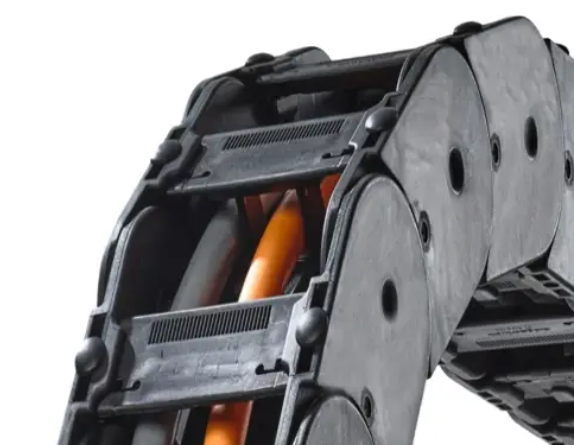
Step 4: Use Separators or Dividers
For multiple cables, separators are highly recommended.
Benefits:
- Prevent cables from crossing or tangling
- Reduce friction between cables
- Keep layout stable during movement
👉 For complex systems, multi-layer shelves can also be used.
Step 5: Avoid Cable Crossing and Twisting
Cables should always run parallel inside the drag chain.
Avoid:
- Crossing cables
- Twisting or spiraling
- Uneven spacing
These issues significantly increase wear and risk of failure.
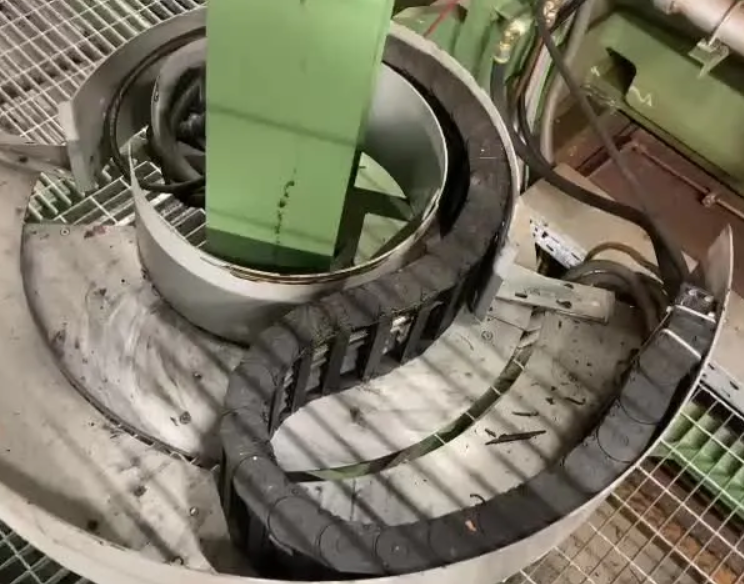
Step 6: Ensure Proper Bending Radius
Each cable has a minimum bending radius.
Rule:
- The drag chain bending radius must be equal to or larger than the cable requirement
If the radius is too small:
- Cables will fatigue quickly
- Internal conductors may break
Step 7: Secure Cables at Both Ends
Proper fixation is often overlooked.
Important points:
- Fix cables at the moving end and fixed end
- Avoid tension or pulling forces
- Ensure cables can move freely inside the chain
This prevents stress concentration and improves durability.
Common Mistakes to Avoid
- Overfilling the drag chain
- Using non-flexible cables
- No separators between cables
- Ignoring bending radius
- Poor fixation at ends
Avoiding these mistakes can significantly extend system life.
Conclusion
Correct cable arrangement inside a drag chain is not complicated, but it requires attention to detail. By following these steps, you can greatly improve system reliability, reduce downtime, and extend the lifespan of both cables and drag chains.
If you need assistance in selecting or designing a drag chain system, feel free to contact our team for professional support.


Drag Chain Size Calculation: Complete Guide for CNC & Industrial Machines (2026)
Drag Chain Unsupported Length: Calculation, Limits and Practical Solutions